Quality Policy: We will provide our customers’ products that meet their expectations, and meet regulatory and statutory requirements, while continually improving our processes.
Mission Statement: We take pride in providing solutions that exceed our customer’s expectations; we will constantly improve our business processes; and we will provide a financially stable work environment for our Associates, our Customers, and our Suppliers
We’re incredibly proud of our commitment to excellence, which is underscored by our ISO 9001:2015 certifications. For our operations serving the automotive sector, we hold the rigorous IATF 16949 certification. We demonstrate our commitment to quality within the medical sector through our ISO 13485:2016 certification at our Inver Grove Heights, MN facility. We also meet many UL, CE, ASTM, and RMA requirements.
We abide by strict quality processes, and we maintain documentation to ensure these processes are followed.
Employees at CGR Products are held responsible for the products that they produce. Parts are inspected “in-process” to a formulated schedule that is designed to catch variations in processing. The results of their inspections are recorded and archived for review. These reports can be supplied to the customer when requested.
To accommodate the inspection requirements, we maintain a wide variety of inspection instruments. These instruments are calibrated and certified on a regular basis by a recognized metrology lab.
In addition to the well-recognized manual inspection instruments that most fabricators use, such as calipers and micrometers, we also use state-of-the-art digital technology for quality inspection.
Inspection Equipment at Our Locations
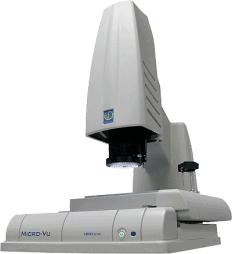
The Waukesha and Decatur locations use a Micro-VU Vertex multisensory measurement system. The system includes programmable optical zoom, 3x digital zoom, non-linear stage compensation and non-linear optics compensation. InSpec software provides proprietary edge detection, automated calibrations and clear display of measurement data and tolerances.
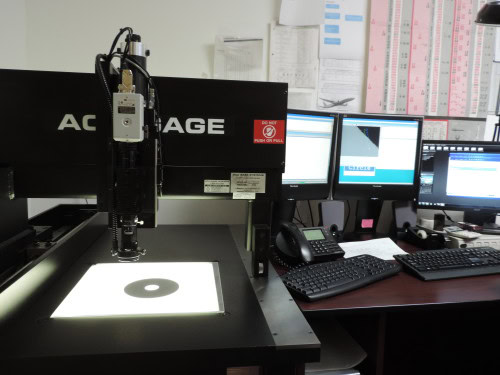
The Greensboro location uses an Automated Acu-gage video machine for the majority of the parts we inspect. The Acu-gage is a 3 axis measurements system that allows CGR to magnify parts 30 times while measuring the part.
Some of the major features of the Acu-gage include:
- The ability to be programmed and automated for repetitive measurements; this allows CGR to quickly export data into various software packages and send data to customers in a format they can use
- The ability to optically scan a part and export the data into a CAD software packages to reduce the time for reverse engineering opportunities
- Edge detection software that allows CGR to measure dies and detect when they are wearing; this allows CGR to keep a tighter control of tooling wear
Quality Document Certificates
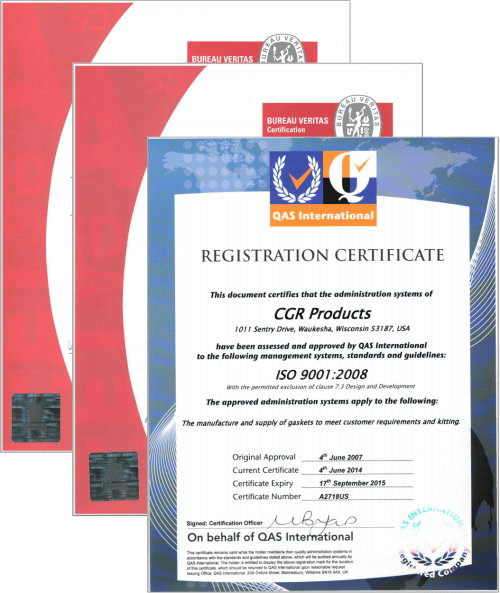
CGR Products is ISO-certified or maintains a Quality Management System at all four of our facilities. We offer copies of these certifications to anyone who wishes to download and save them for our records. Click here to download our ISO certifications.
Reverse Engineering Services
The same technology that allows us to inspect parts also provides us with a powerful tool for reverse engineering services. We can scan your actual sample part or template on the table and the system automatically generates a usable CAD model.
This dramatically reduces the time and cost required to reverse engineer a part. Even the most complex parts are captured in seconds, when completed we can choose several output formats, DXF, DWG, or IGS file format, that conform to your production equipment.
Joint Imaging and Flange Analysis
- Are you experiencing product problems due to unsatisfactory gasket performance or failure?
- Do you have high maintenance or service costs due to leaks and blowouts?
- Do you think you could seal with less expensive materials, but aren’t sure they will perform?
The combination of advanced imaging technology and experienced sales engineers provides CGR Products with the ability to analyze your problem and provide the solution. Below are a few examples of how CGR Products used Joint Imaging and Flange Analysis to solve customers’ problems:
- Selected a material for an OEM pneumatic tool manufacturer that alleviated a chronic service problem. Tools were being returned weekly for gasket replacement. CGR Products analyzed the flange and recommended a sealing solution that stopped the blowouts.
- Identified several instances where applications were utilizing inappropriate materials. After testing and evaluating the data from alternate materials, CGR Products was able to provide gaskets best suited to the applications’ requirements and stop the leaks.
- Designed custom engineered gaskets to overcome structural limitations of cast and machined flanges. Altering the gasket can require far less cost and save expensive down time.
How It Works
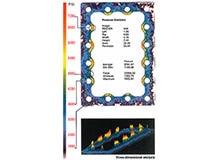
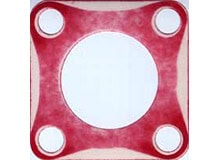
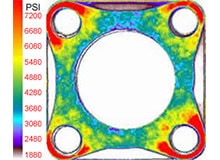
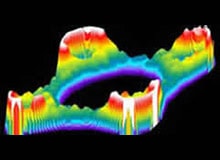
A thin, pressure sensitive tactile film is placed in your application along with the current gasket and torqued to the current specifications. This film is then removed and analyzed to provide a thorough report of the distribution of pressure levels throughout your application.
Available analysis includes statistical reporting of pressure distribution, load variance, pressure histograms, and more. CGR Products sales engineers will evaluate the results and suggest options, such as beaded gaskets, to correct your leaking problems.
A variety of statistical reports are available. Our engineering staff would be happy to provide you with an in-depth analysis of your application.
Request a quote or e-mail us at info@cgrproducts.com
